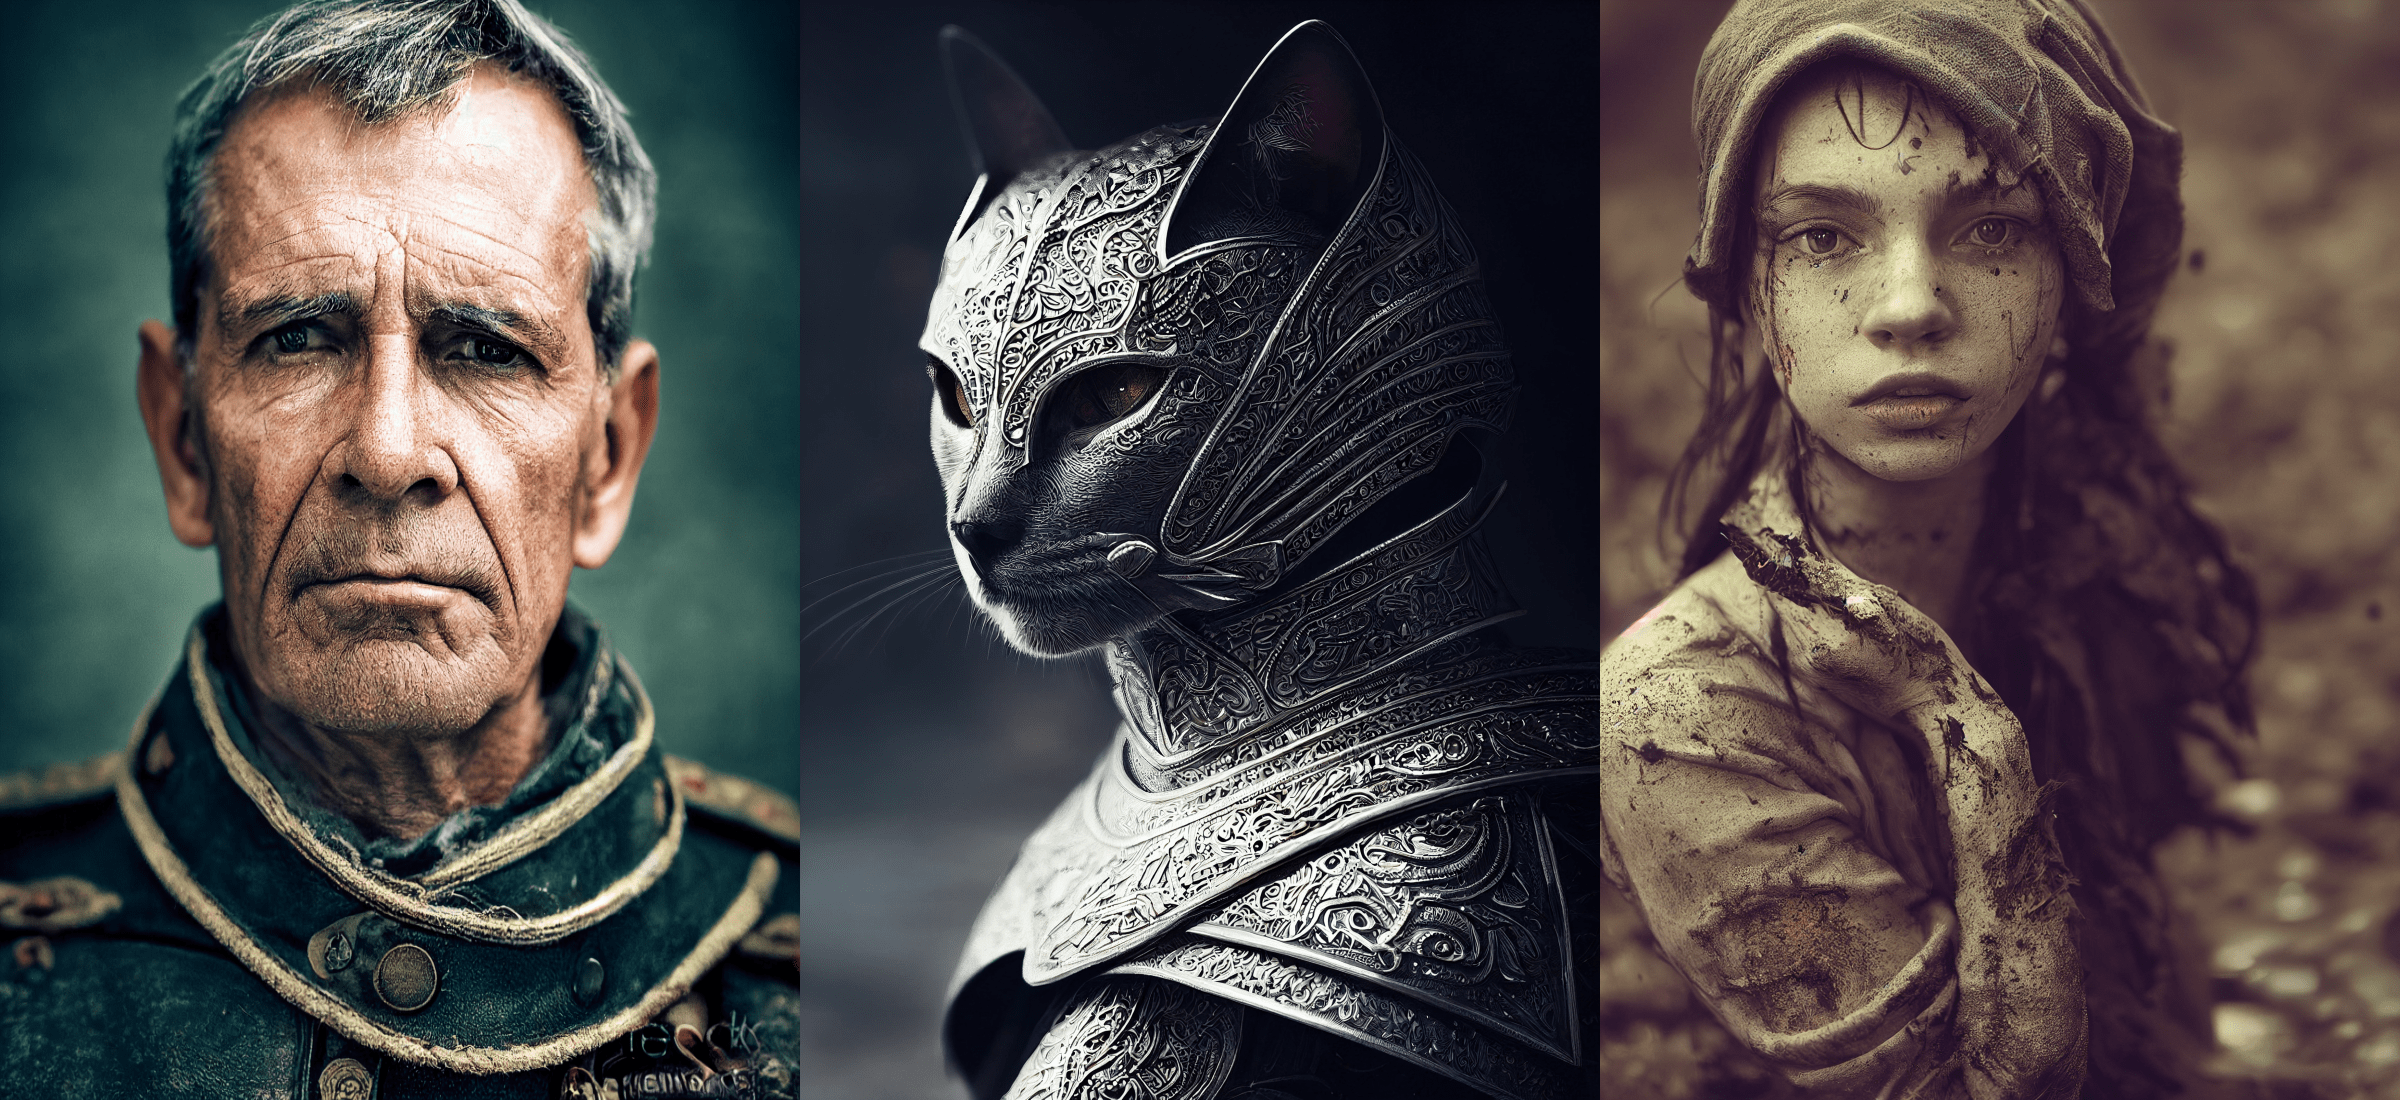
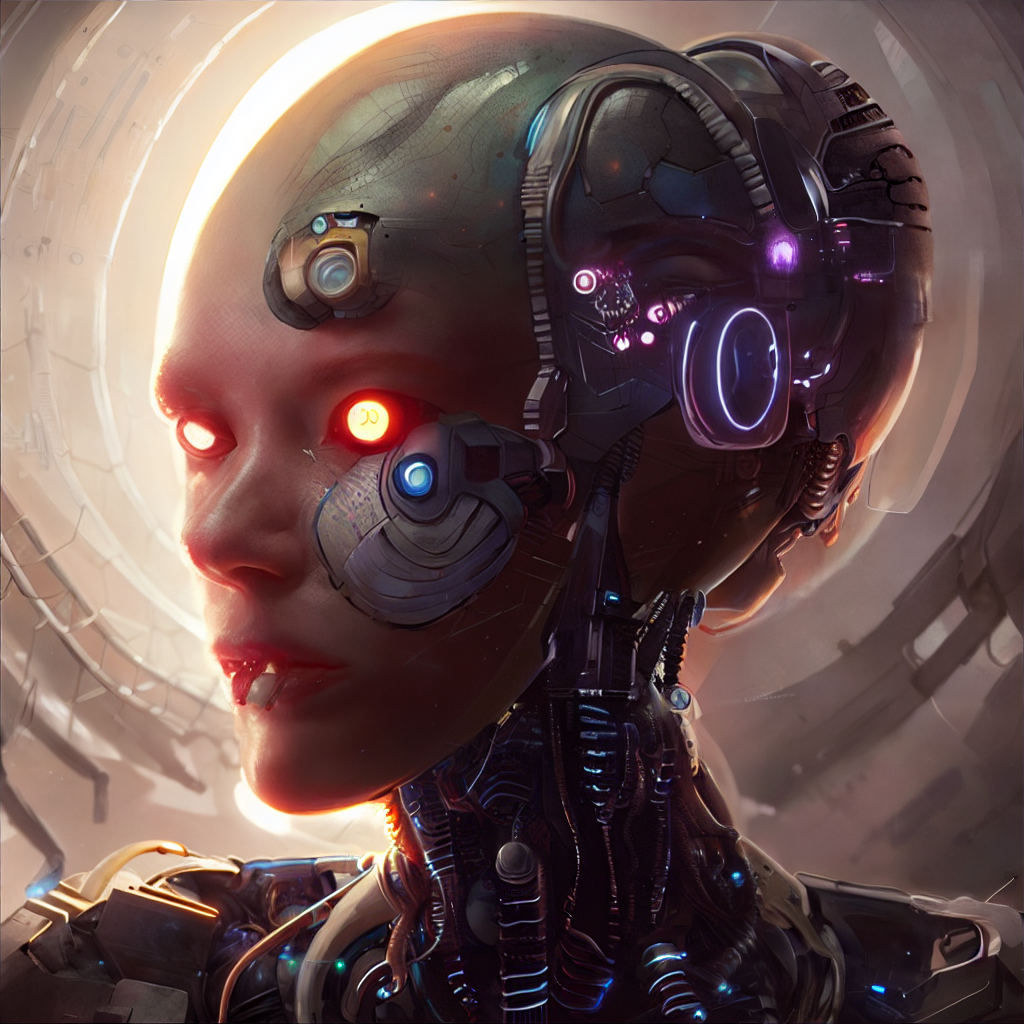
Stability AI released the pre-trained model weights for Stable Diffusion, a text-to-image AI model, to the general public. Given a text input from a user, Stable Diffusion can generate photorealistic 512x512 pixel images depicting the scene described in the prompt.
Introduction 👇
Stable Diffusion is a text-based image generation machine learning model released by Stability.AI. It has the ability to generate image from text! The model is open source which means that it is accessible to everyone to play around with it. In this blog post, I explain how you can run your first Stable Diffusion model but also how it works at a high level.
Side Note: “Open Responsible AI Licenses (Open RAIL) are licenses designed to permit free and open access, reuse, and downstream distribution of derivatives of AI artifacts as long as the behavioral-use restrictions always apply (including to derivative works).”
You might be asking......dude what? Here's an alternative explanation👇
You can use the model for non-commercial purposes and commercial under the terms of the license called Creative ML OpenRAIL-M. It's important not to break any laws, discriminate or insult individuals, generating fake news or information. More information can be found under this link.

📊 The Data
Stable Diffusion was trained off three massive datasets collected by LAION, a nonprofit whose compute time was largely funded by Stable Diffusion’s owner, Stability AI.
I could not find any article that says which model OpenAI has trained DALL-E 2 on. Although they say "hundreds of millions of captioned images", they still did not release any information on the datasets used. On the other hand, the Stability AI team has been very honest and open about how their model was trained. Coupled with Stable Diffusion being Open Source, that could explain the massive popularity of this model, while also making it accessible to the general public.
The Stable Diffusion model was trained using the LAION Aesthetics dataset, a subset of the LAION 5B dataset, containing 120 million image-text pairs from the complete set which contains nearly 6 billion image-text pairs.
Out of the 12 million images they sampled, 47% of the total sample size came from 100 domains, with Pinterest yielding 8.5% of the entire dataset. Other top sources included WordPress.com, Blogspot, Flickr, DeviantArt, and Wikimedia.
Stable Diffusion reportedly runs on less than 10 GB of VRAM at inference time, generating 512x512 images in just a few seconds, meaning running on consumer GPUs is an option.
🔎 Under the Hood of Stable Diffusion
Stable Diffusion is powered by Latent Diffusion, a cutting-edge text-to-image synthesis technique. This method was described in a paper published by AI researchers at the Ludwig Maximilian University of Munich titled “High-Resolution Image Synthesis with Latent Diffusion Models.”
In a nutshell, latent diffusions are diffusion models (DMs) that achieve state-of-the-art synthesis results on image data and more by breaking down the process of making an image into a series of applications of denoising autoencoders.
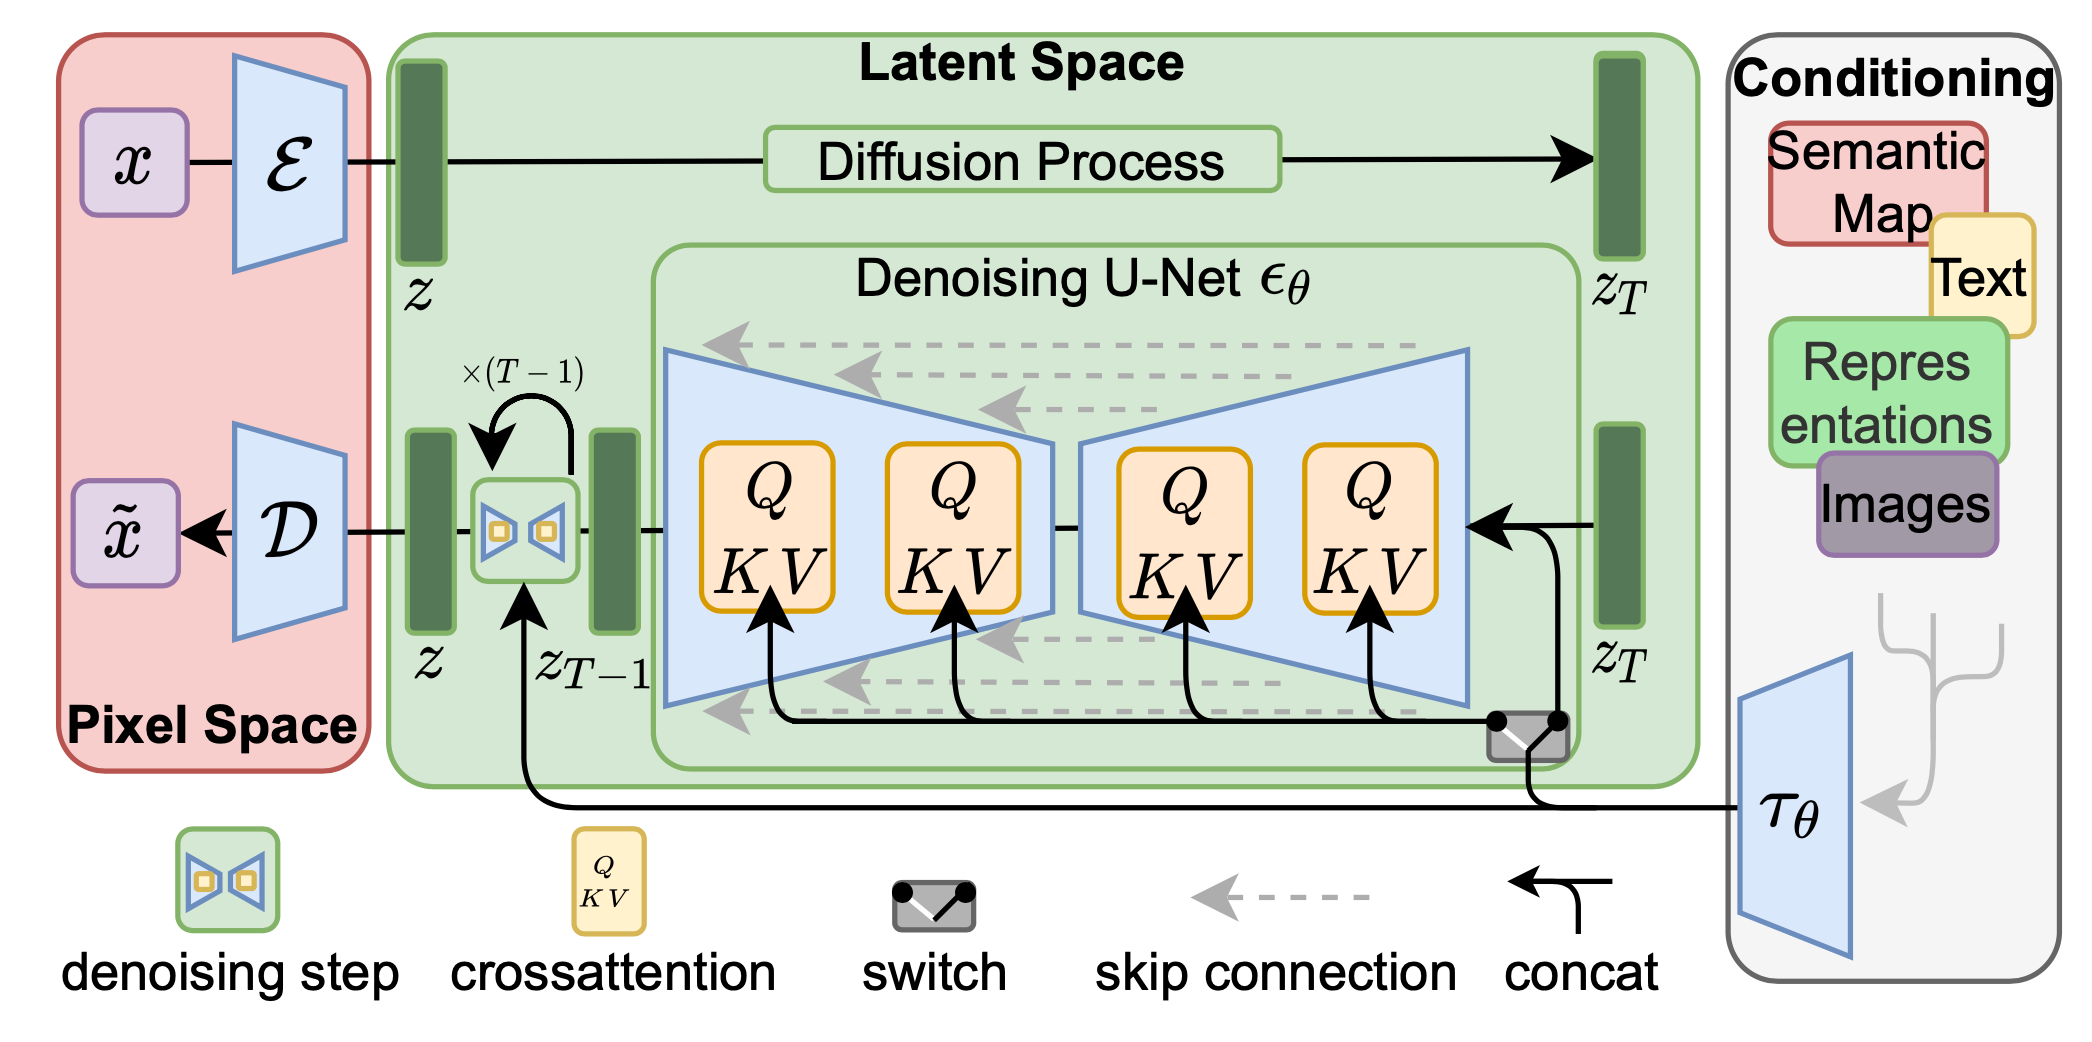
Stability AI puts diffusion models in the latent space of powerful pre-trained autoencoders so that they could be trained with limited computing resources without losing their quality or flexibility.
Latent diffusion model (LDM; Rombach & Blattmann, et al. 2022) runs the diffusion process in the latent space instead of pixel space, making training cost lower and inference speed faster. It is motivated by the observation that most bits of an image contribute to perceptual details and the semantic and conceptual composition still remains after aggressive compression. LDM loosely decomposes the perceptual compression and semantic compression with generative modeling learning by first trimming off pixel-level redundancy with autoencoder and then manipulate/generate semantic concepts with diffusion process on learned latent. (Source)
The Paper 📝
High-Resolution Image Synthesis with Latent Diffusion Models
By decomposing the image formation process into a sequential application of denoising autoencoders, diffusion models (DMs) achieve state-of-the-art synthesis results on image data and beyond. Additionally, their formulation allows for a guiding mechanism to control the image generation process without retraining. However, since these models typically operate directly in pixel space, optimization of powerful DMs often consumes hundreds of GPU days and inference is expensive due to sequential evaluations.
💻 Run Stable Diffusion on MacOS
Prerequisites 💻
System
You will need one of the following:
- An NVIDIA-based graphics card with 4 GB or more VRAM memory.
- An Apple computer with an M1 chip.
- macOS 12.3 or higher.
Memory
- At least 12 GB Main Memory RAM. 8GB of RAM also works, but it is annoyingly slow.
Disk
- At least 6 GB of free disk space for the machine learning model, Python, and all its dependencies.
Conda Installation 🐍
I generally recommend that you install Conda. Pip is a package manager, and Virtualenv is an environment manager. Conda is both!
So Conda is a packaging tool and installer that aims to do more than what pip does; handle library dependencies outside of the Python packages as well as the Python packages themselves. Conda also creates a virtual environment, like virtualenv does.
Create an Environment 🌱
Use the following command to create your own environment that is specifically set up for Stable Diffusion.
conda create --name myenvIn your case, it could be
conda create --name StableDiffusion...or use a shorter name! 🙂 Once that's done, activate the environment to use it.
conda activate StableDiffusionPython Version 🐍
First let's check in the terminal what Python version you have installed. At the time of writing this article, I did not have the required version 3.10 installed...
$ python3 -V
Python 3.9.6Important: You need at least Python 3.10 to run Stable Diffusion. To upgrade your current Python version, use the following (considering you have Homebrew installed)👇
brew update && brew install pythonTo check your python version, use the following command.
python3 --versionGetting Started – Clone the Fork of Stable Diffusion 💻
Let's start by creating a new folder on your Desktop and switch into that folder. Type in the following commands into the terminal.
mkdir StableDiffusion
cd StableDiffusion
Run the following to clone the fork of the Stable Diffusion repository
git clone -b apple-silicon-mps-support https://github.com/bfirsh/stable-diffusion.git
cd stable-diffusion
mkdir -p models/ldm/stable-diffusion-v1/
Let's set up a virtual environment (virtualenv) to install needed dependencies:
python3 -m pip install virtualenv
python3 -m virtualenv venv
Activate the virtualenv
source venv/bin/activateIf you see "ERROR: Failed building wheel for onnx" you might need to install these packages:

To fix this issue, run the following command
brew install Cmake protobuf rustDownload the Weights 🌎
Go to the Hugging Face repository. Read the license and agree with its terms, then click "Access repository".
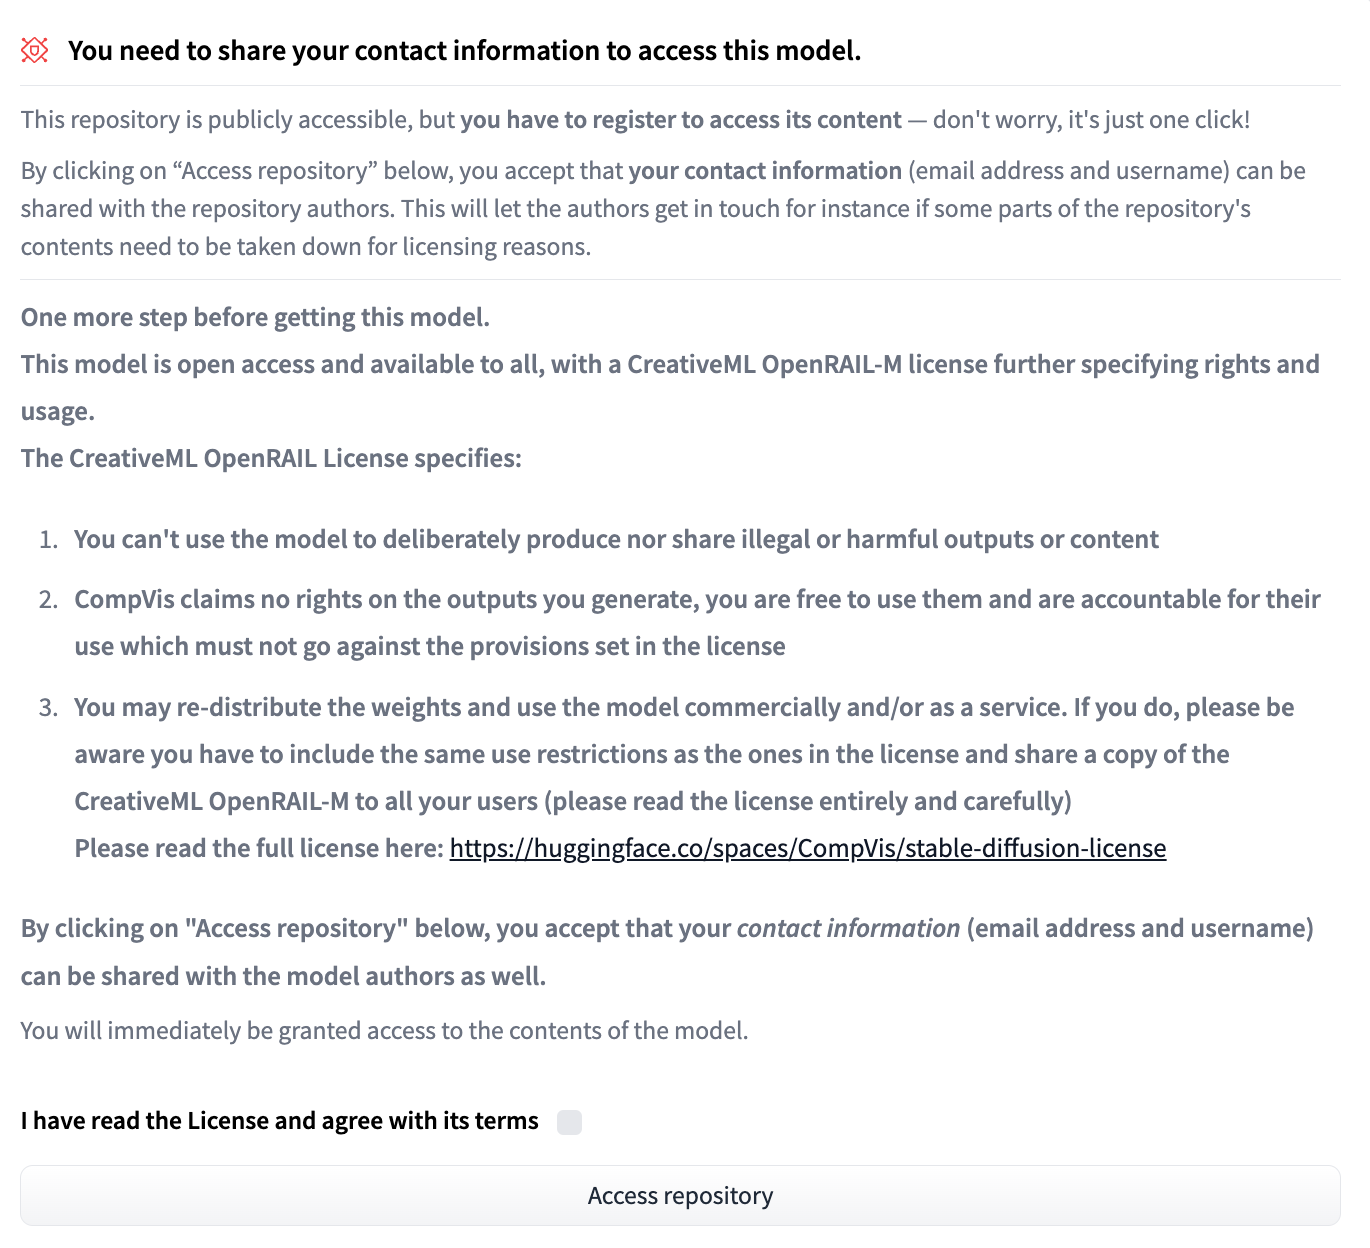
Download "sd-v1-4.ckpt" (~4 GB) on that page and save it as models/ldm/stable-diffusion-v1/model.ckpt in the directory you created above.
Run it! 🚀
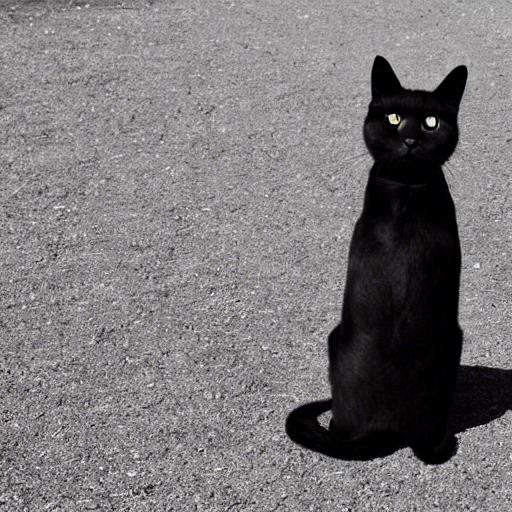
Now, you can run Stable Diffusion:
python scripts/txt2img.py \
  --prompt "a black cat chilling on the street" \
  --n_samples 1 --n_iter 1 --plms
Your output's in "outputs/txt2img-samples/".
If that is not working, you should consider downgrading protobuf
pip install protobuf==3.19.4For me that caused another problem that I could not resolve first. You need to rename the downloaded weights from sd-v1-4.ckpt to model.ckpt and move it inside the stable-diffusion-v1 folder.
Check out the Stable Diffusion repo to get more information.
 magnusviri
1-Click Solution 🖱️
CHARL-E packages Stable Diffusion into a simple app. No complex setup, dependencies, or internet required — just download and say what you want to see.

Installation on Windows 🖥️
📝 Stable Diffusion Prompting Cheatsheet
Moritz wrote a great blog that summarises a few prompts that you can use once you run Stable Diffusion

🔗 Relevant Links
- Stable Diffusion community: https://discord.gg/stablediffusion – with areas for developers, creatives and just anyone inspired by this
- You can find the weights, model card and code here: https://huggingface.co/CompVis/stable-diffusion
- An optimized development notebook using the HuggingFace diffusers library: https://colab.research.google.com/github/huggingface/notebooks/blob/main/diffusers/stable_diffusion.ipynb
- A public demonstration space can be found here: https://huggingface.co/spaces/stabilityai/stable-diffusion
- For more control and rapid generation you can try our DreamStudio beta here: http://beta.dreamstudio.ai
Links from the official Stability AI announcement blog post.
If this post was helpful to you, consider subscribing to receive the latest blogs, tutorials, cohort and course updates! 🙂
And if you would love to see other blog posts or tutorials on AI, please leave a comment under this post - cheers!
Keep engineering your mind! ❤️
Jousef